 Back to selection
The Week In Cameras
Latest News About the Tools We Use by Michael Murie
Getting the Shot: Scenes from the Making of the Music Video, “Ready or Not”
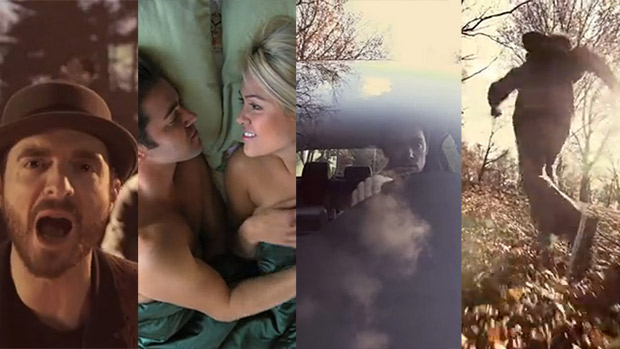
In a previous article (An Afternoon Music Video Shoot with the Canon C300) I documented a day shooting scenes for a new music video for the band Air Traffic Controller. The completed video, as well as a making-of piece have now been posted.
Director/DP/Editor Rick Macomber explained that he decided to do this video after seeing Dave Munro from ATC perform the song acoustically. Said Rick “I was listening to the lyrics and I knew how close the song was to Dave’s personal life and it touched me. So when he came to me and asked which song I would like to use from the new album for the next music video, of course I immediately said Ready or Not.”
The video includes some stunning visuals, including a sequence shot using low-budget rear-projection. I asked Director/DP/Editor Rick Macomber to explain how the video came about and how some of the shots in the video were made.
AIR TRAFFIC CONTROLLER “READY OR NOT” OFFICIAL MUSIC VIDEO from Rick Macomber on Vimeo.
Filmmaker: You had an idea once you heard the song. Did you write a script? What did you tell the band?
Macomber: Dave said, “If you have an idea for the song, can you put it in a script form?” I drew up a rough draft of a script and sent that to him, and then we met for a beer at a bar and hashed it out.
Originally I wanted it to just be about the two little kids. It was going to be a hide-and-seek thing. Dave had the idea that he and Casey Sullivan, the bass player, could be two adults in it and they could also be playing hide and seek. I said, “Maybe we should get two adult actors,” but I didn’t like the idea of them playing hide and seek. I wanted to have something where the two adults were searching for each other so that you’d have two parallel stories, yet the stories would be different.
Filmmaker: Where did you find the actors?
Macomber: Model Mayhem. That’s my favorite place to find actors. The drummer’s son, Mickie, was the boy, and my friend Kent Earle’s daughter Addison played the young girl. She is actually trying to get in to acting.
Filmmaker: How were the low stabilized shots done?
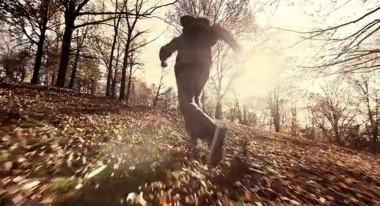
Macomber: I flipped the Glidecam upside down, and just balanced it from the bottom, so now the bottom was at the top and ran with it upside down. Then I flip-flopped the image in Final Cut Pro
Filmmaker: How did you get the camera-over-the-bed shot?
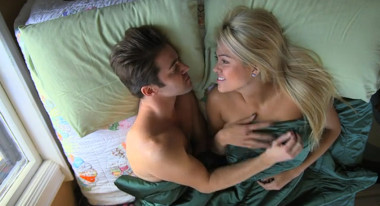
Macomber: I went up on a ladder. I put them at the foot of the bed because the head of the bed was up against the wall and I didn’t want to start moving the women’s furniture around too much. And then in post-production I flipped the image the other way.
Filmmaker: Where did you get the idea to do the projection in the studio?
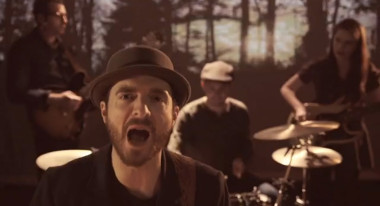
Macomber: I originally wanted to shoot the band outdoors in a cornfield at sun set out in western Massachusetts. I had the location all set, but we couldn’t get the band together because they were touring. Then it got so cold outside that it would be ridiculous to try to do it in the dead of winter and we wanted to finish the music video.
I shot the string section in Andover at the Harold Parker State Forest, and after I wrapped the shot I left the camera up on the tripod as I was breaking down all the gear and just rolled on the sunset.
Filmmaker: You’d already planed to do the projection at that point?
Macomber: No I hadn’t. I figured I might use it in the video. So I rolled on that, about 10, 15 minutes worth, and I thought maybe I can get a two-second time-lapse out of this. Then once I got home and started to look at all the footage I thought, wow, I could probably either green screen the band in front of this and make it look like they’re out there where the strings are, or somehow I could try projecting it.
I had an old 4×3 projector, and I brought it over to Jeff Munroe’s studio (Jeff is Dave’s brother) and we did a test on the wall. It really didn’t do the trick; there wasn’t enough contrast. It was 4×3 and the image wasn’t wide enough to fit the band into the shot. So I went out and bought a sub-$1,000 HD projector. That proved to be a really good projector for the money.
Filmmaker: The shot with the violinists. That was done on a rig rather than the Glidecam. How do you decide to use one versus the other?
Macomber: With the Glidecam you’re looking for a specific smooth shot, for walking or running. For any kind of a scene where there’s fighting or rapid movement, it’s better to use a rig that’s handheld because you can move your body more naturally, like the movement of the band moving or if you’re doing action shots where there are people wrestling or fighting scenes. You want to be more hand held. You get a better look and a feel as a viewer watching it that way.
Filmmaker: How did you do the hood shot?
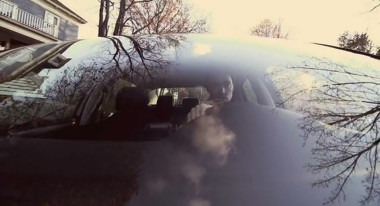
Macomber: Originally I was going to lie down on the hood, but there was nowhere to grab on to the front of the vehicle. And there was no budget so I couldn’t afford the suction cups. Sean Meehan, who was shooting the behind-the-scenes footage and has a lot of great ideas, helped me come up with the idea of resting the camera on the hood.
I could actually lay the camera in the little space where the windshield wiper blades retract. I had an 11-16 Tokina wide-angle lens on so I could be right up against the glass. I was using a polarizing filter on that lens in order to see through the glass and see the actors face.
We weren’t really going that fast, I was walking beside it. It gave the impression that the car was moving faster than it was because you could see the reflection of the trees going by the windshield. It gave enough of the impression that the car is moving just for a couple of seconds at a time as you see it in the video.
Filmmaker: How did you get the pigeon in the video?
Macomber: I wanted to get carrier pigeons. And Dan Bérubé and his brother Don Bérubé put me in touch with some New England carrier pigeon people. They were all nice guys but they said, We’re not going to let our pigeons go in some attic. It’s cruel. We let them go inside the attic they could be injured or freak out and go hide under the eaves and we may not be able to get them out.”
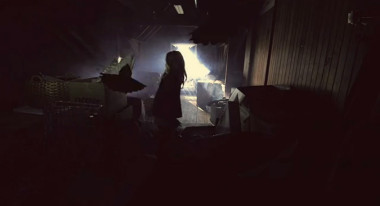
I was then going to try to get them to release their pigeons outside with a green screen behind them. And I shot a plate of the attic, and that was going to be the plate for the green screen.
Then Dan Bérubé sent me a link to a website where you could download moving images of pigeons – some of them were silhouettes –- and you could either green screen or key them over an existing image. I noticed that the black ones were going to be the best fit for the video, because when the young girl walks up into the attic and turns her head she’s in silhouette. With that gargoyle in the window and the way those pigeons keyed over that image it was just perfect. If you see it for a split second. I added in the foley of the pigeon wings flapping and it was just enough to give you that feeling that there were actually pigeons up there.
Filmmaker: How many takes did you do for the “here we go” crane shot?
Macomber: I think we did 12 takes.
Filmmaker: Which take did you use?
Macomber: It’s always the last one. I always do that. I keep doing takes until I’m happy. Usually I won’t stop doing them until I get the one I want and usually it’s the last one and that’s when I stop.
By the way, the reason we did so many takes on that crane, it wasn’t very good. We had to gaffer’s tape it together. For the two other shots we used a Kessler crane. If we’d had a Kessler crane it would have been done much quicker.
The Behind the Scenes video by Sean Meehan can be seen below:
